I've done a few string quilts. I've researched TONS of string quilts. After all that, I've learned that string quilts break down into two or three basic sewing patterns. Of course, there are variations on these. Just click on the photos to take you to where you want to go.
1) Foundation Piecing - Many string quilters use a foundation piece to sew the strings to. It helps to keep them under control and keep them from stretching. Some of the foundations that work well: scrap fabric (sheets), dryer sheets, phone book pages, copy paper. In the case of the dryer sheets, they all have perfume in them (even the ones that claim they're unscented), so make sure the person who will be using this quilt has no allergies. As for the paper foundations, make sure you remove the paper BEFORE you square your block.
 The
most well known type of string quilt is strings sewn diagonally across a
foundation square. Lots of beautiful quilts are made this way. This
one is by Bonnie Hunter. If you've never visited her site, please go.
She has tons of gorgeous quilts and patterns listed. Click the photo for the pattern.
The
most well known type of string quilt is strings sewn diagonally across a
foundation square. Lots of beautiful quilts are made this way. This
one is by Bonnie Hunter. If you've never visited her site, please go.
She has tons of gorgeous quilts and patterns listed. Click the photo for the pattern. The
next quilt pattern I'd like to show you is a string Roman Stripe. I
made this one and that's Elwood modeling it for you. Use the pattern
above, only placing stripes on half the foundation piece.
The
next quilt pattern I'd like to show you is a string Roman Stripe. I
made this one and that's Elwood modeling it for you. Use the pattern
above, only placing stripes on half the foundation piece.  Another
popular pattern is the Spiderweb. Basically, it's a triangle shaped
foundation piece that has strings sewn over the corners. Marit has a
great tutorial. Click the photo for the pattern.
Another
popular pattern is the Spiderweb. Basically, it's a triangle shaped
foundation piece that has strings sewn over the corners. Marit has a
great tutorial. Click the photo for the pattern.  Hidden
Wells is a popular string quilt as well. There are two approaches to
this quilt. The first is to make a half block with half the strings
going into the center of the block. Then add strings going across the
other half.
Hidden
Wells is a popular string quilt as well. There are two approaches to
this quilt. The first is to make a half block with half the strings
going into the center of the block. Then add strings going across the
other half. 
 The
second way of making hidden wells is the use of flat panels such as
what Joan of MooseStash Quilting did in her excellent tutorial. Click the photo for the pattern.
The
second way of making hidden wells is the use of flat panels such as
what Joan of MooseStash Quilting did in her excellent tutorial. Click the photo for the pattern.  2) Panels - All the strings are sewn into a
panel and then cut to shape. This panel can be cut into any shape just as if it's a solid piece of fabric.
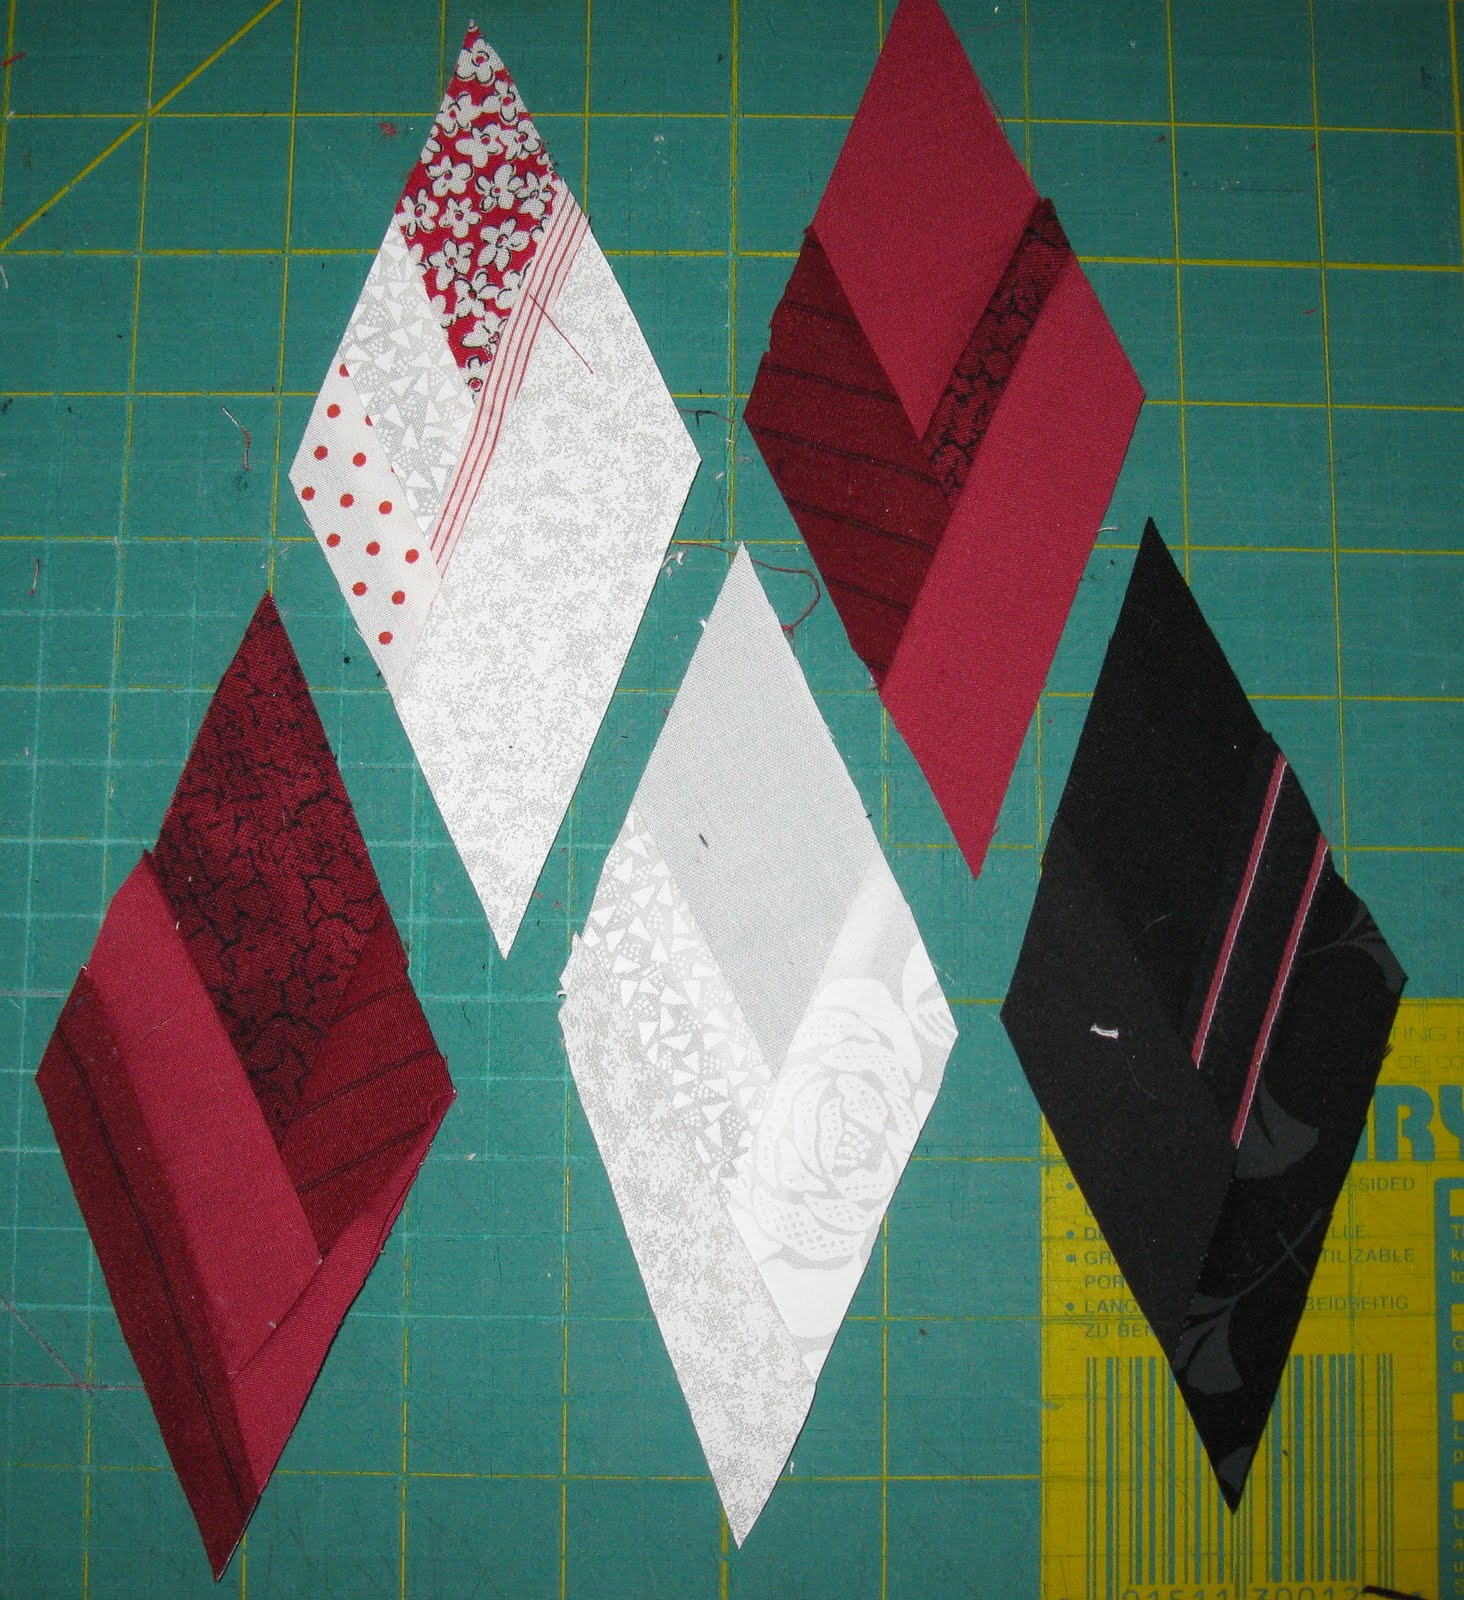
2) Panels - All the strings are sewn into a
panel and then cut to shape. This panel can be cut into any shape just as if it's a solid piece of fabric.Some people use foundations for these as well. I, personally, don't use foundations. The way I sew my strings together doesn't cause much stretch. First, I set the pressure on my sewing foot to medium-light and sew the strings all in pairs and press (not iron). Then, I sew the pairs together and press. I repeat this again and again until I have a panel wide enough for my pattern.

3) Wrap Around - Basically a log cabin

3) Then, there are variations and combinations.
 Click the photo to go to the instructions. Also, peruse that website. There are other string patterns there.
 This is Rana's lovely quilt. Click it to go visit her blog.
A couple of mine.


